
Here's a birthday card all of my own. I didn't look through books and magazines for inspiration. I haven't seen a card demo which has inspired me. I just used my own inspiration from this:


The photo on the left shows what I ended up when messing around with my Big and Juicy, mountain meadow pad = not good but that pad was tipped every which way during the house moves I had to make in one year, so not sure it's much good for anything now but I'm not throwing it out.
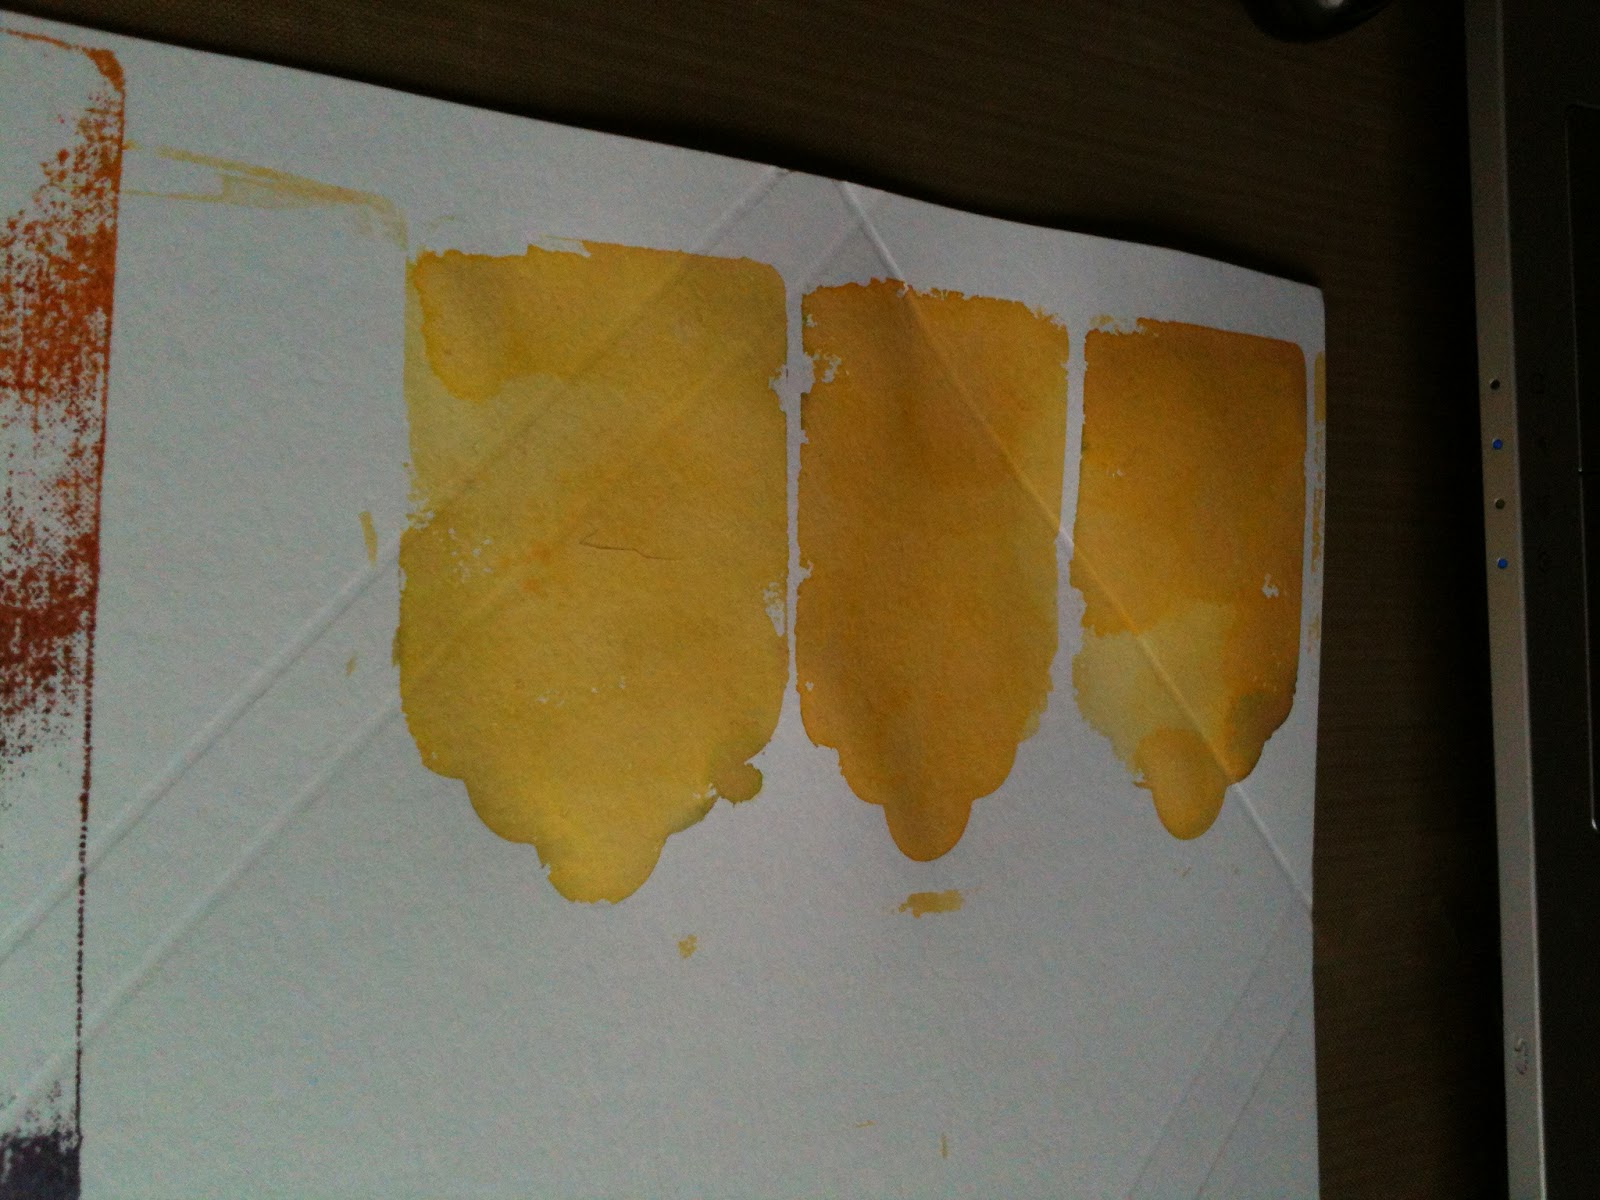 |
| having fun trialling ideas out |
 |
| It doesn't look crash hot on it's own |
 I used Wild Card cartridge to cut the happy birthday sentiment from (page 61 of booklet). Using the Craftroom made it so easy to match up with the large tag and get the size exactly right. You're able to cut layer by layer, so as long as you put the selected icon onto the 'mat' as a separate layer in the first place, it makes cutting just one part of the overall image, extremely easy.
Outlining the inked tags helps give better definition to them.
The backing paper is from a K&Co paper pad I use alot as it's HUGE!
 |
| Let's get this card assembled |

I had the idea to emboss/deboss a tag image onto the envelope to put the address into; it's from an embossing board which came with my Crafter's Companion Ultimate Pro. Love it!
 |
| Not easy to see on white card but click on the image to get a better view if you're daft like me and get kicks from such things :-) |
Take care out there
No comments:
Post a Comment
Go on, you know you want to comment! Have you tried anything like this? Do you want a few more snippets of information about this project to help you do something similiar? Has it inspired you or given you ideas to do it differently?